Getting Claude Code to Build Games in Godot
I use Claude Code every day for infrastructure work and for the SaaS apps I build. It is very good at the things that live in text: code, config, tests, scripts. Game development is a different animal. It is visual, it is interactive, and most of the tooling assumes a human is sitting in front of an editor clicking around. So I wanted to answer a concrete question: can an AI actually build a game end to end, or does it fall apart the moment there is no screen to look at?
The short answer is yes, with the right setup. Here is exactly what we did.
Why Godot, not Unity
The first decision matters more than any other. What makes an engine usable by an AI is whether the project is text it can read and write, and whether it has a real command line. Godot wins on both counts.
In Godot, scenes and resources are plain text files, and the scripting language lives in ordinary files too. That means changes are diffable, and they can be generated or edited directly without a mouse. It also has a genuine command line: it can run logic with no display, export builds, validate scripts, and run tests, all from a terminal.
Unity is possible, but it fights you. Its scenes and prefabs are stitched together with internal IDs and are meant to be edited through the Editor, not by hand. Editing them blind is fragile. Unity earns its place for big 3D projects and its asset store, but for the specific goal of an AI iterating on game design, Godot is dramatically smoother.
The real problem: the feedback loop
Writing the code was never going to be the hard part. The hard part is letting the AI see what it made and decide whether it worked. Without that, it is coding blindfolded.
We solved this with three signals:
- Headless runs and logs. The engine can boot a scene with no display at all, run the logic, and print out what happened. This covers game systems and rules.
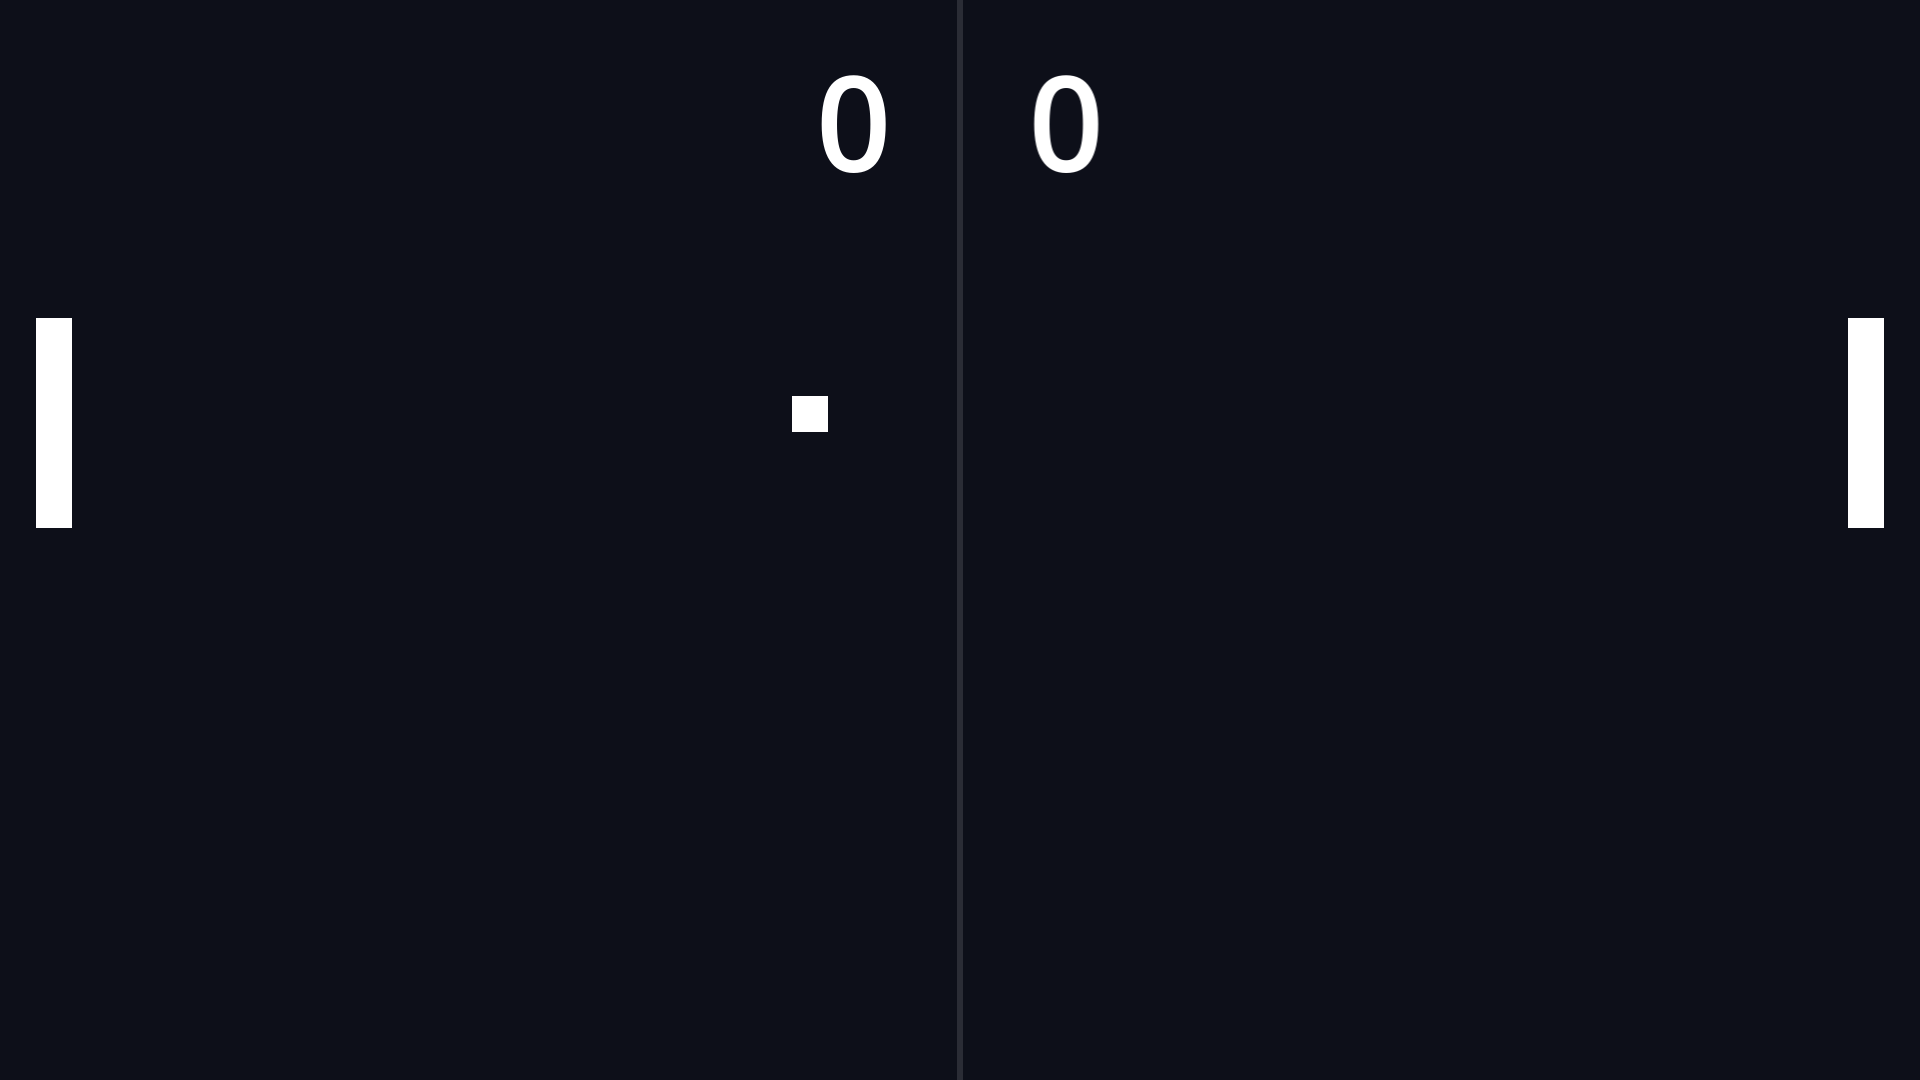
- Screenshots. For anything visual, the game runs against a virtual display, renders a frame to a PNG, and the AI reads the image back. That is the piece that closes the visual loop. The screenshot at the top of this post was produced exactly this way, with no monitor involved.
- Automated tests and a simulation harness. This is the strongest signal. Unit tests confirm the game rules did not break, and a headless simulation can run a match and report numbers. That is what makes balance and design changes verifiable instead of guesswork.
The harness
Rather than do this once for one game, we built a small reusable harness so any future project starts with the loop already wired. It is a handful of pieces:
- A set of make commands: one to run the tests, one to render any scene to an image, one to launch the game, one to sanity check the project.
- A tiny, dependency free test framework that discovers and runs every test file and fails loudly if anything is wrong, so it works in continuous integration too.
- A reusable screenshot tool that can capture any scene without the game itself needing to know anything about screenshots.
The important design habit that came out of this: keep the game's rules in plain, node free code so they can be tested without spinning up the whole scene. That single choice is what turns "I think this feels right" into "here is a passing test that proves it."
Proof: Pong in an afternoon
To prove the loop actually closes, we rebuilt the classic that every game developer starts with: Pong. It was a deliberate choice. It is simple enough to get right, but it still exercises the whole pipeline. There is real physics and scoring to unit test, and there is something on screen to look at.
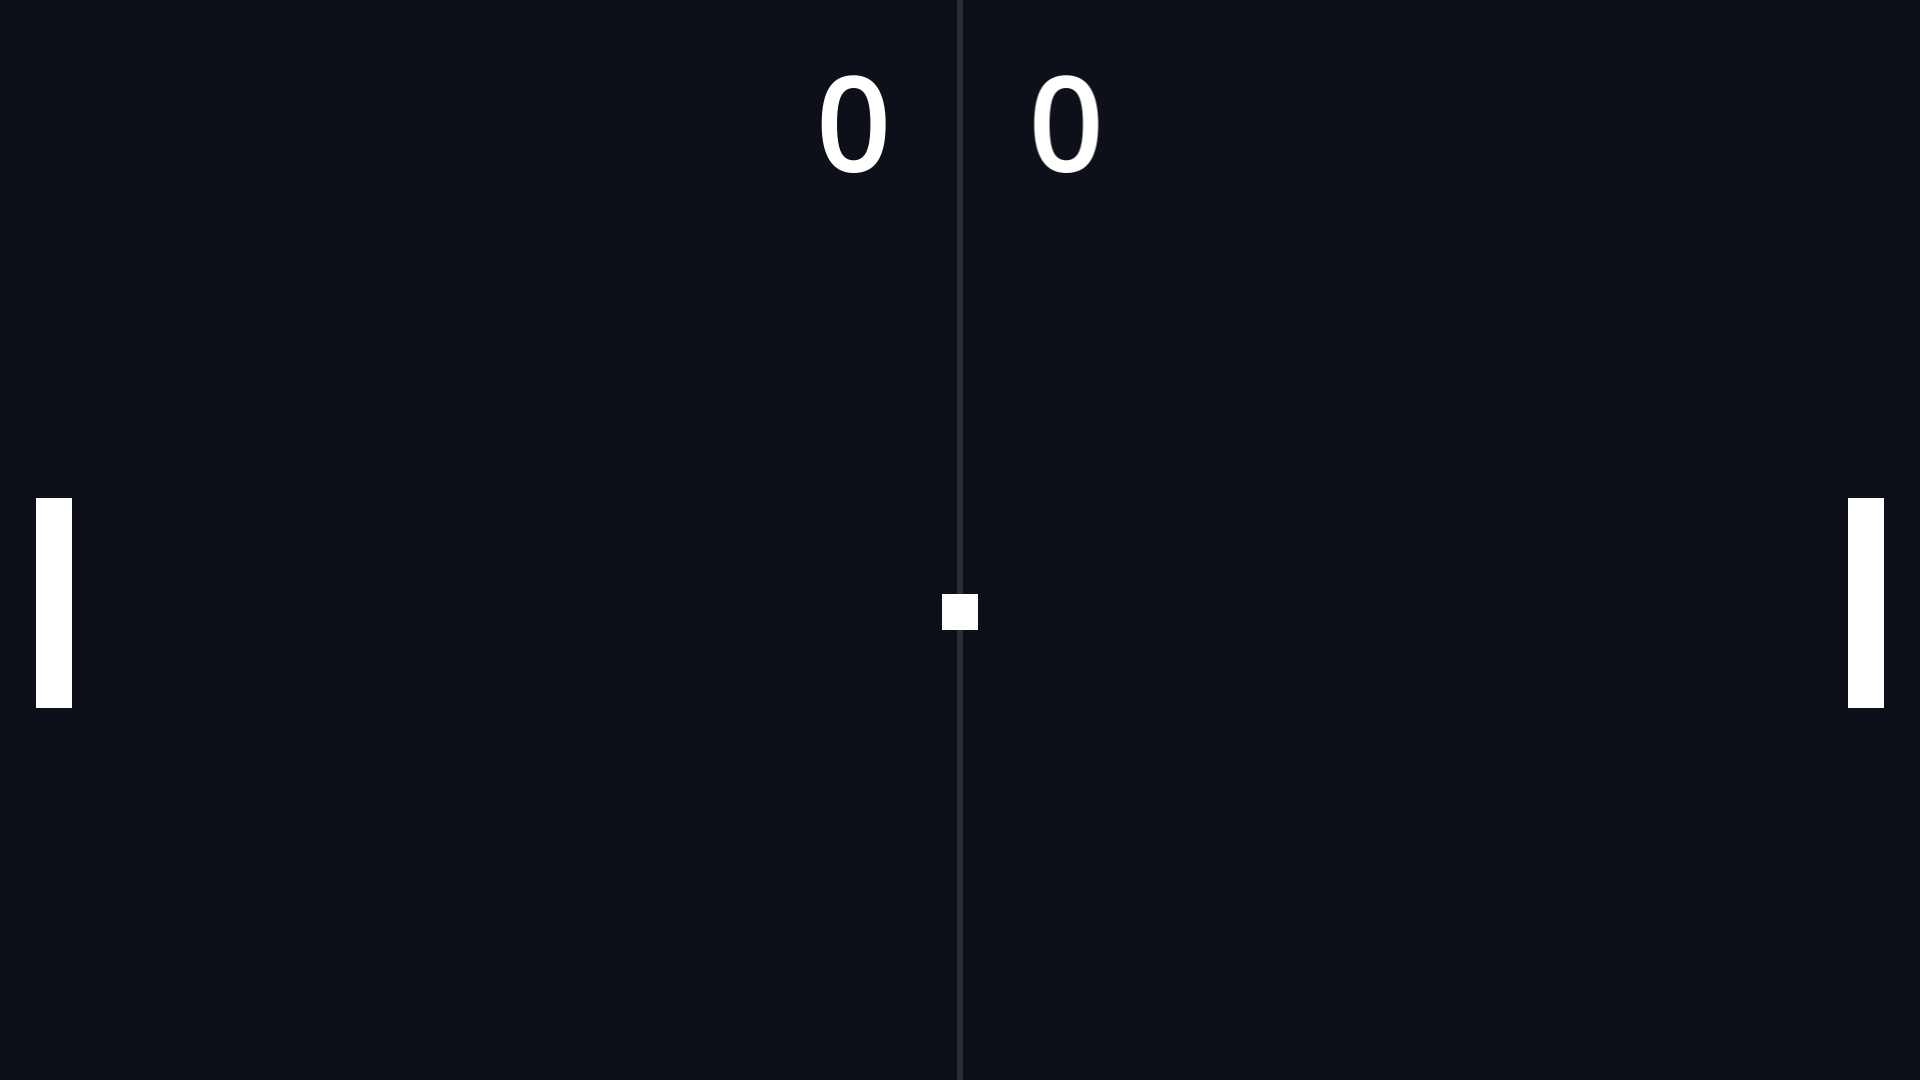
Here is what happened, with no human in the loop: the game was written as text, six unit tests for the ball bounce and scoring rules passed, the match was rendered against a virtual display, and the resulting frame was read back to confirm it looked right. Both paddles play themselves, which is a small trick that lets a headless run produce motion worth capturing. From there the cycle is: change something, rerun the tests, render a new frame, compare, repeat.
Do it yourself, step by step
Here is the whole setup from scratch. It targets Linux, where headless screenshots are easiest. On macOS or Windows the tests work identically, and you can capture screenshots against a normal window instead of a virtual display.
1. Install the tools
# Godot 4.x: download the standard build and put it on your PATH
wget https://github.com/godotengine/godot/releases/download/4.4-stable/Godot_v4.4-stable_linux.x86_64.zip
unzip Godot_v4.4-stable_linux.x86_64.zip
sudo mv Godot_v4.4-stable_linux.x86_64 /usr/local/bin/godot

# Xvfb gives you a virtual display so screenshots work with no monitor
sudo apt install -y xvfb

# Claude Code
npm install -g @anthropic-ai/claude-code
2. Create the project
Make a folder and drop in a project.godot. The two settings that matter for
automation are the GL compatibility renderer (so screenshots work on software
graphics) and the screenshot autoload from step 3:
[application]
config/name="My Game"
run/main_scene="res://Main.tscn"

[autoload]
Screenshotter="*res://tools/screenshotter.gd"

[display]
window/size/viewport_width=640
window/size/viewport_height=360
window/stretch/mode="canvas_items"

[rendering]
renderer/rendering_method="gl_compatibility"
3. Add the screenshot tool
tools/screenshotter.gd. Because it is an autoload, it works for any scene
without your game needing to know about screenshots. It lets the scene run a few
frames, grabs the rendered image, saves it, and quits:
extends Node

func _ready() -> void:
	var args := OS.get_cmdline_user_args()
	if not args.has("shot"):
		return
	var i := args.find("shot")
	var out: String = args[i + 1] if i + 1 < args.size() else "shot.png"
	var frames: int = int(args[i + 2]) if i + 2 < args.size() else 120
	_capture(out, frames)

func _capture(out_path: String, frames: int) -> void:
	for _f in range(frames):
		await get_tree().physics_frame
	await RenderingServer.frame_post_draw
	var img := get_viewport().get_texture().get_image()
	img.save_png(out_path)
	print("SAVED SCREENSHOT: ", out_path)
	get_tree().quit()
4. Add a tiny test framework
tests/test_case.gd, a base class with a few asserts (no addon required):
extends RefCounted

var _asserts := 0
var _failures: Array[String] = []

func assert_true(cond: bool, msg := "") -> void:
	_asserts += 1
	if not cond:
		_failures.append("assert_true failed%s" % ((": " + msg) if msg else ""))

func assert_eq(a, b, msg := "") -> void:
	_asserts += 1
	if a != b:
		_failures.append("assert_eq failed: %s != %s" % [a, b])
tests/run_tests.gd, a runner that discovers every tests/test_*.gd, runs each
test_* method, and exits non-zero if anything fails:
extends SceneTree

func _initialize() -> void:
	var total_fail := 0
	var d := DirAccess.open("res://tests")
	d.list_dir_begin()
	var f := d.get_next()
	while f != "":
		if f.begins_with("test_") and f.ends_with(".gd"):
			var obj = load("res://tests/" + f).new()
			for m in obj.get_method_list():
				var n: String = m.name
				if not n.begins_with("test_"):
					continue
				var before: int = obj._failures.size()
				obj.call(n)
				if obj._failures.size() == before:
					print("  PASS  ", f, " :: ", n)
				else:
					total_fail += 1
					printerr("  FAIL  ", f, " :: ", n)
		f = d.get_next()
	print("Failures: ", total_fail)
	quit(1 if total_fail > 0 else 0)
5. Add a Makefile
Indent the recipe lines with tabs:
GODOT ?= godot
SCENE ?= res://Main.tscn
OUT   ?= shot.png
FRAMES ?= 120

test:
	$(GODOT) --headless -s res://tests/run_tests.gd

shot:
	xvfb-run -a $(GODOT) --rendering-driver opengl3 $(SCENE) -- shot $(OUT) $(FRAMES)
6. Prove the loop
Write a small scene at res://Main.tscn and put your game rules in a plain,
node free script (say game_logic.gd) so they are testable. Add a test like
tests/test_game_logic.gd:
extends "res://tests/test_case.gd"
const GameLogic = preload("res://game_logic.gd")

func test_scoring() -> void:
	assert_eq(GameLogic.score_for(10), 100)
Then run the loop:
make test
make shot SCENE=res://Main.tscn OUT=shot.png
make test proves the logic. make shot writes a PNG you can open, or that
Claude Code can read to see its own work.
7. Hand it to Claude Code
Run claude in the project folder and give it the loop as a standing
instruction, something like: "After any change, run make test and make shot,
then read shot.png to check your work before moving on." From there you describe
what you want, and it writes the code, verifies the rules, and looks at the
result the same way you would. That is the entire trick: give the model a way to
see, and it can iterate.
If you would rather start from the finished version, the full harness, including
the Pong example and a CI workflow, is open source on GitHub:
github.com/jonathancaruso/godot-game-harness.
Clone it and run make test.
What it can and cannot do
I want to be honest about the edges, because this is a tool, not magic.
It is genuinely strong at systems and logic, procedural generation, building levels from data, balancing, tooling, and tests. The sweet spot is systems driven 2D games: roguelikes, tower defense, card games, puzzles, simulations.
It cannot tell you whether a game is fun. That still takes a human playing it. And it does not draw original art or compose audio, though it can wire in generated or placeholder assets. There is also a practical note: rendering without a real graphics card works fine for screenshots and correctness, but it is slow, so anything that needs true frame rate profiling wants real hardware.
Where this goes
Pong is the hello world. The interesting work is everything the harness unlocks next: an AI that can generate a level, run a thousand simulated playthroughs overnight, read the win rate, adjust the difficulty curve, and hand me a build in the morning with a report on what changed and why. The visual and systems loop is proven. My job shifts to the one thing it cannot do, which is deciding whether the result is actually good.
If you have been wondering whether AI coding tools are ready for game development, the answer is that the ceiling is a lot higher than I expected, as long as you build the feedback loop first.